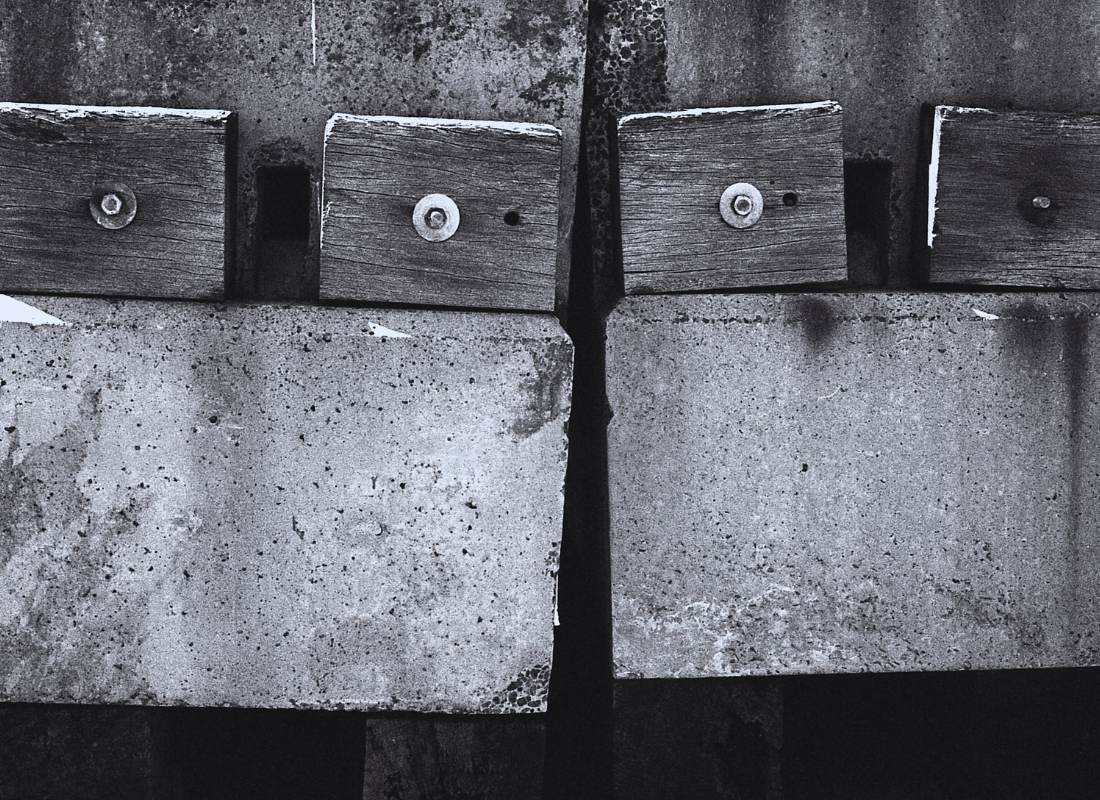
A retaining wall offers a unique appeal to your garden and changes a general ambience quickly. Besides keeping erosion at bay, sleeper retaining walls really offer functionality such as terraces or fire pits, elevated flower beds, and so on. In short, it's a wonderful asset that adds some value to your property.
Concrete sleeper retaining walls are almost synonymous with popularity since they are robust, practically maintenance-free, and durable. They withstand the rough Aussie weather and can never rot, bend, or even crack like timber over time. Whether you're just levelling out a slight slope or looking for a structure for your landscape design, the concrete sleeper wall will be an apt and attractive alternative.
In this guide, we’ll walk through everything you need to know to build your own concrete sleeper retaining wall, from permits and prep to digging, drainage and final touches.
Tools and Equipment
-
Pegs and a piece of string
-
Mini loader with auger
-
Spirit level
-
Steel posts
-
Concrete sleepers
-
Wheelbarrow
-
Concrete mix
How to Build a Concrete Sleeper Retaining Wall?
Step 1: Check Local Regulations
Each state in Australia has different rules regarding wall construction on your property. You have to see if you will require a proper building permit depending on a few attributes: height, material, location, and design of the wall. Thus, contact your local government and check into the laws pertaining to your area.
A construction permit is probably needed for any sleeper retaining wall that is more than one metre high. Additionally, you will need to employ a structural engineer to approve the design and stability of the wall.
Finally, you and your neighbour will be responsible for splitting the cost of building your retaining wall if it is being constructed on a property line. Just make sure to let them know as soon as you can iron out any disagreements.
Step 2: Inspect Your Area
Examine your retaining wall area carefully before you start excavating/digging. Take particular note of your garden's slope and get rid of any plants or stones that could get in the way of building your wall.
Step 3: Time to Dig
The first actual step is to determine the location of your retaining wall and mark its edge with a string line. This will guarantee that the wall is straight rather than crooked.
To do this:
-
Mark the area for your wall’s construction and ram pegs from one side to the other. Each peg should be driven a few inches into the ground, with a spacing of 500mm between them.
-
Next, tie the string around one peg and connect it firmly to the other.
-
Your holes should be evenly spaced to keep your sleeper retaining wall straight and structurally stable, otherwise your wall may lean noticeably if they are not evenly placed.
-
Never forget that the size of your steel posts determines the hole's diameter and size.
Step 4: Cut Your Sleepers
The foundational elements of your retaining wall are your sleepers. You must measure and cut your sleepers precisely to the same height and length in order to guarantee a flush finish.
Remind yourself to measure twice and cut once. Ensure all sleepers are of the same length, as it is unsightly to have uneven length concrete sleepers. You can cut your job in half by purchasing block concrete sleepers here, as you won't have to cut most of them.
Step 5: Pour the Concrete and insert the posts
After digging your holes, drive your steel posts into the ground. Once your posts are in place, use concrete mix to fill in the surrounding gaps but don't fill them to the brim.
With your spirit level, check each post to make sure it’s standing upright and not leaning in any direction. It’s important that every post is perfectly vertical. You should measure the gap between posts to ensure equal spacing and check the tops of posts to get a straight wall.
Step 6: Installing Your Sleepers
Once the posts have had their period to dry and set, sleepers could be slipped between them. A good guide is to allow a slight gap between the sleeper and post of about 7 to 10 mm. Slide the sleeper across and confirm that spacing is comfortable: not too tight, not too loose.
Step 7: Soil Plug
Your wall's top should be filled with a soil plug to prevent eroding dirt from entering. If your pipes are open at either end, it is best to provide a soil plug and then backfill there to prevent loose soil from washing in.
Step Eight: Drainage and Backfilling
In addition to lateral soil pressure, many retaining walls also prevent water pressure. A nearby water source could create hydrostatic pressure, which could ultimately lead to the collapse of your wall. Install a drainage pipe behind your retaining wall that is at least one in one hundred fall away, meaning that for every metre of length, the pipe should drop one centimetre in height. If your wall is 10 meters long, for instance, the pipe should slope down 10 cm from end to end.
Additionally, it needs to be atop a layer of clean drainage material that is 10–20 mm thick. Then comes the backfilling after your retaining wall is done. There has to be at least 12 inches of granular material backfilling behind the wall to assure adequate drainage. You can then fill the remaining space with soil, preferably native.
Why?
-
Avoiding Hydrostatic Pressure
Water accumulation behind the wall can result in hydrostatic pressure and wall failure; proper drainage helps avoid this.
-
Wall Stabilisation
Apart from providing support to the structure, correctly backfilling with appropriate materials will prevent the wall from settling or shifting.
-
Expanding Lifespan
Good backfilling and drainage techniques contribute to the retaining wall's longevity and durability.
How Many Sleepers Do I Need for My Retaining Wall?
The height and length of your wall have a major impact on how many sleepers you need. To find out quickly, multiply the number of posts by the distance between them. Then, just to be cautious, you might throw in an additional 10% of sleepers in your calculations.
Sleeper length is determined by the height of your sleeper retaining wall. We advise speaking with a certified structural engineer before hiring a contractor if your wall is more than a metre long and needs council approval.
Conclusion
Building a concrete sleeper retaining wall could be quite a daunting affair before, but with proper preparation, tools, and knowledge, anyone can confidently take it on. There are so many issues to consider, from checking on local regulations to good drainage to backfilling, they are all a form part of the considerations that ensure the walls stay strong through the years.
A retaining wall can make a worthy investment whether you are reshaping the garden, making a usable area, or you simply want to add value to the property. Approach this with the right amount of care; never rush through any step, and for any retaining wall more than one metre high or if in doubt, do hire a professional.
With a bit of patience and know-how, you'll end up with a retaining wall that perfectly fits into your yard space while serving an important function.


